Reading-Notes-for-Advanced-Software-Development-in-Python-Course
NextJS Deployment
The easiest way to deploy Next.js to production is to use the Vercel platform from the creators of Next.js. Vercel is an all-in-one platform with Global CDN supporting static & Jamstack deployment and Serverless Functions.
Getting started
- Sign up to Vercel (no credit card is required).
- After signing up, you’ll arrive on the “Import Project” page. Under “From Git Repository”, choose the Git provider you use and set up an integration. (Instructions: GitHub / GitLab / BitBucket).
- Once that’s set up, click “Import Project From …” and import your Next.js app. It auto-detects that your app is using Next.js and sets up the build configuration for you. No need to change anything — everything should work just fine!
- After importing, it’ll deploy your Next.js app and provide you with a deployment URL. Click “Visit” to see your app in production.
ElephantSQL
ElephantSQL is a PostgreSQL database hosting service. ElephantSQL will manage administrative tasks of PostgreSQL, such as installation, upgrades to latest stable version and backup handling.
ElephantSQL is also integrated to several cloud application platforms (also known as PaaS). With a click of a button your database is provisioned in the same data center as your application is hosted, and is ready to be used immediately.
Getting started
To get started you need to sign up for a customer plan. What plan you want to use depend of your needs. We offer five different service plans, three dedicated clusters and two shared clusters.
You can try ElephantSQL for free with the plan Tiny Turtle. All other plans are billed by the second, so you can try out even the largest instance types for mere pennies. Billing occurs at the end of each month, and you’re only charged for the time an instance has been available to you.
It is easy to get started with ElephantSQL. Create an account by clicking Sign up and enter your email address or use a third-party service. If you already have an account, just enter your email and password and press the Log in button.
An email will be sent to you with email address confirmation information. You need to confirm your email and add some additional information like billing information before you are able to create a paid plan.
Create a new instance
If you would like to create plan Pretty Panda or larger, you need to start by adding a credit card to your ElephantSQL account.
To create a new instnace, press + Create New Instance
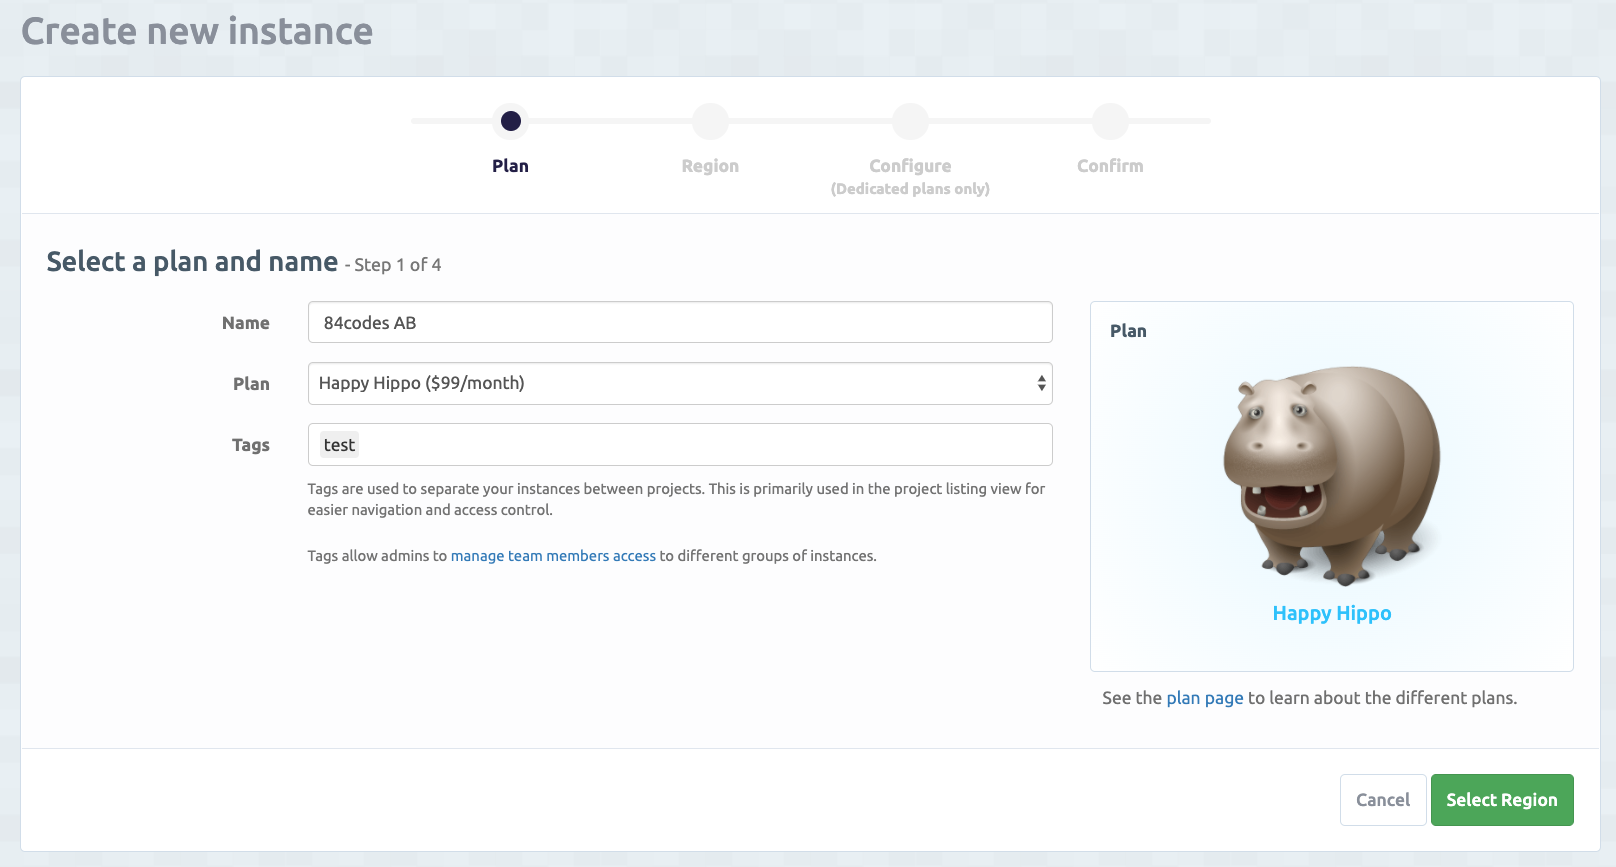
- Name: The name of the instance. This name should be a name that helps you identify which application the instance is used by.
- Plan: The plan you would like to have.
- Tags: used to separate your instances between projects. This is primarily used in the project listing view for easier navigation and access control. Tags allow admins to manage team members access to different groups of instances.
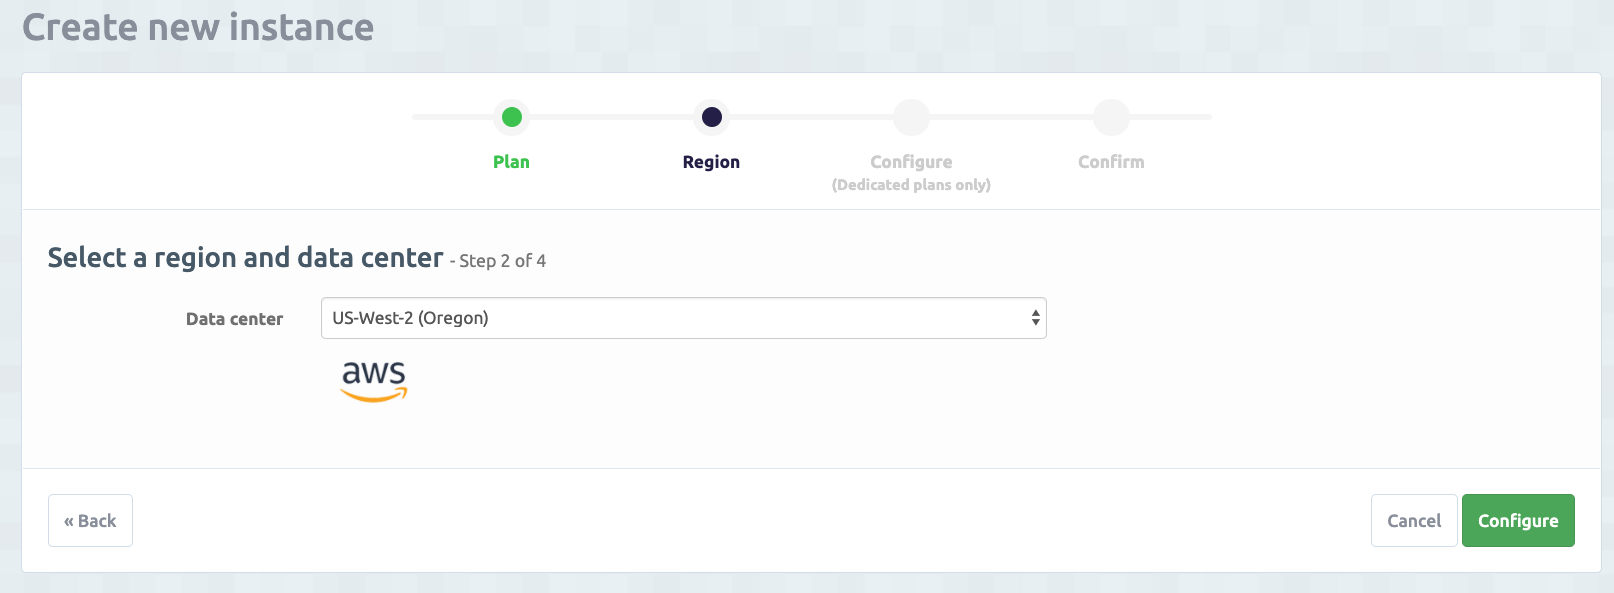
- Data center: Choose the datacenter and region of where your instance will be located. Choose the datacenter that is closest to the servers of your application - you want the latency to be as low as possible. When creating a shared instance, not all data centers will be available.
Immediately after the instance is created it will be provisioned to you. The instance details, such as connection URL, statistics, connections and your slow queries can be seen at the details pages. From here will you also be able to restore backups and rotate your password. If you are on a dedicated plan you will be able to view server metrics, you can set up followers and you can view information for all your databases.
Once you have created your account you can get started using your PostgreSQL database by using any of the guides listed, depending on platform and language. These tutorials cover the basics of how to get started with ElephantSQL.
The database instance can be tested and used via different tools, e.g the ElephantSQL SQL browser, pgAdmin or psql. A link to ElephantSQL SQL browser page can be found from the management console for your instance. From that page you can execute sql queries from your web browser. psql is an interactive terminal for work with Postgres and pgAdmin is a graphical administration client for PostgreSQL.